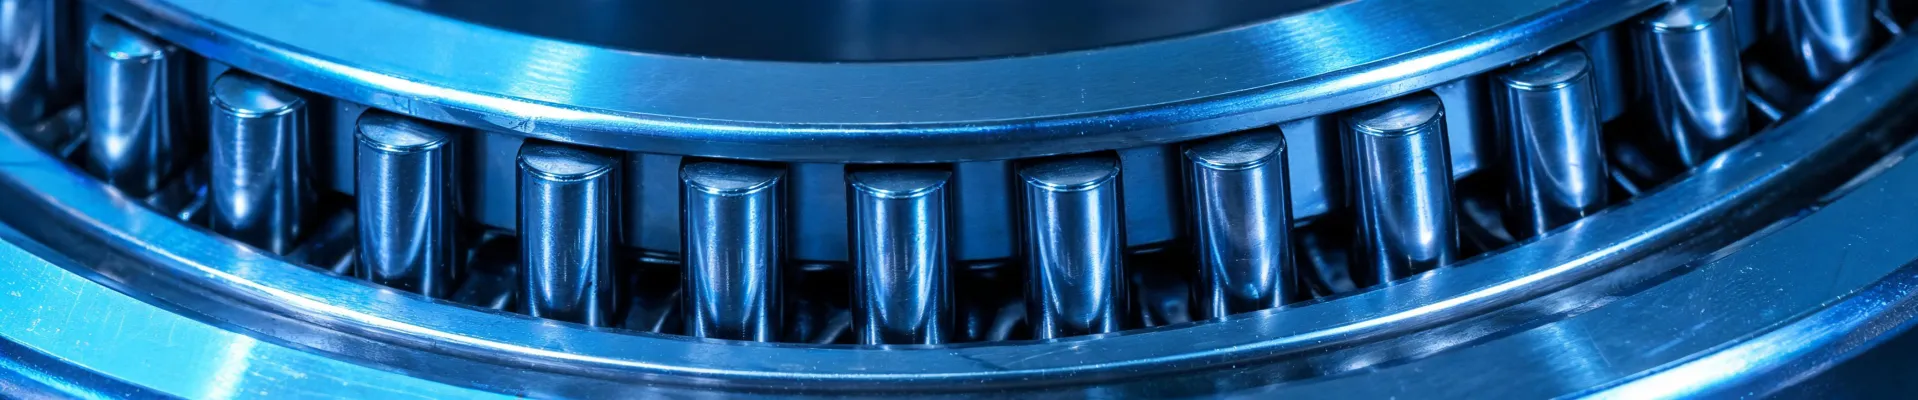
I've been specifying and ordering transmission parts for about eight years. Roller bearings, needle bearings, ball bearings, linear guides, actuators—if it rotates or slides, I've likely ordered it wrong at least once. In 2022, I submitted a purchase order for what I thought were identical INA needle roller bearings. They were not identical. That mistake cost us about $2,100 in expedite fees and downtime, and it's the reason I keep a failure file on my desktop.
If you've ever had a bearing fail early, you know the feeling. You check the part number, verify the fit, maybe take a photo of the spalled raceway to send to the supplier. You want someone to say 'manufacturing defect.' More often than not, the bearing itself was fine. The application around it was wrong. That's a harder pill to swallow, but it's also the one you can fix.
The Problem You See Is Usually Not the Real Problem
Let's talk about what you see first. A spherical roller bearing on a fan starts making noise after six months. The bearing is hot. The vibration reading is creeping up. Or an INA linear roller bearing on a feed axis develops flat spots and the carriage starts to shudder. Your first thought? 'Bad batch.'
I've been down that path. In September 2023, a spherical roller bearing on a plant fan failed and took out the fan shaft, sheared a coupling, and stopped a production line for eleven hours. I was ready to complain about quality. Then the teardown showed a housing bore out of round by 0.0025 inch. The bearing didn't fail—it was murdered by the housing. The housing was fine before, but someone bolted it down unevenly after a bearing change. That 0.0025 inch overloaded one side of the outer ring, and the bearing paid for it.
Why does this happen? Because bearings are precise but not forgiving. They follow the geometry of the machine around them. If the shaft flexes, the housing distorts, or the lubricant is the wrong type, you'll get early failure no matter whose brand is printed on the box.
This isn't controversial. ISO 281, the standard that defines basic rating life for rolling bearings, assumes proper lubrication and a clean operating environment. Schaeffler's technical documentation for INA products says the same thing in bolder letters: mounting accuracy, cleanliness, and lubrication are the deciding factors. The catalog rating is a theoretical number. Your operating conditions decide the real number.
Six Causes I See Repeatedly
Over the years, I've narrowed my failures down to six root causes. These aren't in order of importance, because any one of them can kill a bearing.
- Misapplication. The part number matches, but the actual load doesn't. This is the classic. A bearing selected for steady load won't survive shock loads or frequent starts.
- Mounting mistakes. Pressing on the wrong ring is the big one. With a needle bearing, it's easy to damage the needle set if you don't support it correctly during installation.
- Contamination at install. A little dust on a workbench gets into a bearing and acts like grinding paste. I've seen an INA needle roller bearing fail because someone set it down on a dirty rag for a few seconds.
- Lubrication misunderstandings. More grease is not better. And you almost never want to mix greases with different base oils or thickeners.
- Misalignment. Shafts and housings that look aligned at rest can be off once the machine heats up or the load is applied.
- Changed conditions. Someone adds more belt tension, raises the operating speed, or installs a heavier tool. The bearing wasn't sized for the new reality.
In my opinion, that last one is the most common and the hardest to catch. The original engineer specified a bearing for the design envelope. Ten years later, the machine runs faster, carries more, or has a different motor. Nobody recalculates the bearing. The system degrades gradually, and then one Tuesday morning, you get a failure.
Misapplication isn't limited to bearings. Take a 40 roller chain (ANSI #40) on a small conveyor. The spec says 40 roller chain. Someone orders a 41 because it 'looks the same.' Different width, same pitch—so it fits the sprockets, but it's not strong enough. After two weeks, it stretched, beat up the sprocket, and damaged the tensioner bearing. The chain cost $80. The downtime and sprocket cost $1,400. The bearing on the tensioner? Another $120. The root cause was a one-character spec error.
INA Needle Roller Bearings and INA Linear Roller Bearings: Same Rules
I've standardized a lot of our motion components on INA bearings. In my experience, INA needle roller bearings and INA linear roller bearings are consistent and well-made. But 'well-made' doesn't mean 'immune to bad applications.'
A linear roller bearing has to deal with side loads, straightness, and parallel surfaces. If the guide rail is twisted even slightly during mounting, the carriage will skid. I've seen an INA linear roller bearing with bright load markings on one edge only—a clear sign that the rail wasn't flat. The bearing did exactly what it should; the mounting did not.
The same goes for INA needle roller bearings. They're often used in compact designs with high load capacity, but that capacity is only valid when the raceways are parallel, round, and properly supported. If the shaft is too soft, the needles will leave a false brinelling pattern. If the housing is thin and flexes, the needles will skew under load.
Bottom line: a good bearing is like a good employee. It performs well when the system around it is fair.
What Happens When a Linear Actuator Fails?
This is one of those questions people ask only after something has gone wrong. So let me tell you what I've seen. The dramatic failure—screw snaps, motor overloads, carriage slams into an end stop—is rare. More often, the actuator stalls, drifts, loses position, or starts oscillating. That can happen because of an electrical issue, a mechanical jam, a failed limit switch, or a feedback sensor that lies to the controller.
But here's the part that surprises people: when a linear actuator fails, it doesn't always stop the machine. Sometimes it keeps moving and just gets 'sloppy.' If the actuator is driving a carriage, the carriage can skew. Side loads change. And whatever bearing is guiding that carriage—maybe an INA linear roller bearing—becomes the hidden victim. The actuator was the obvious problem. The bearing was the one that got silently damaged.
So when someone asks 'what happens when a linear actuator fails?' the honest answer is: it depends on what's downstream. A failed actuator can turn a simple repair into a cascade of damage. The actuator is never the only cost.
What Failure Really Costs
Here's a number that changed my perspective. In 2022, the wrong needle bearing order cost $2,100. In 2023, the fan bearing failure ended up costing around $5,300 in parts, labor, and lost production. The bearing itself was $240. The repair was 22 times the bearing's price. And that doesn't count the argument with the supplier, the late-night phone calls, or the report I had to write for plant management.
People often focus on the bearing price because it's the easiest number to compare. But total cost is different. Total cost includes installation labor, downtime, re-inspection, and the risk of damaging adjacent components. That's why I've learned to ask about 'what's NOT included' before asking about price. A low quote that ignores the operating conditions isn't a bargain. It's a promise of a future failure.
That approach has changed how I buy. The vendor who lists all fees upfront—even if the total looks higher—usually costs less in the end. At least you know where you stand.
The Fix: A Boring Checklist
I don't have a fancy formula. I have a checklist. It's not a game-changer in the marketing sense; it's a game-changer because it forces you to look at the machine's current reality instead of relying on the last order.
- Verify the actual load, speed, and operating temperature before reordering. If conditions have changed since the last purchase, do the math again.
- Measure the shaft and housing fits. Don't assume. A 0.002 inch difference can mean the difference between a bearing that lives and a bearing that dies.
- Plan the mounting method before you start. For inner-ring-mounted bearings, use heat. For outer-ring-mounted, use a press. For needle bearings, use an installation sleeve and never hammer directly.
- Pick the lubricant from an approved list. Don't mix greases. Match base oil viscosity to speed and load.
- Align the housings to the shaft centerline after you tighten the base bolts. Check alignment again after thermal cycling if the machine gets hot.
- For linear actuators, confirm stroke, speed, duty cycle, and side-load limits in writing. If the actuator is close to its limit, the next failure is already scheduled.
We've been using this checklist for about three years. In the past 18 months, it caught 47 potential issues—wrong fits, wrong lubricants, a few outright wrong part numbers, and one linear actuator that was undersized for the new cycle time. That's 47 orders that could have ended up like my 2022 mistake. The only cost is ten minutes of checking before you hit 'submit.'
After I switched to this checklist, I still had doubts. I hit 'submit' on the first few orders and immediately worried—did I miss something? What if a supplier sends the right part number but the wrong internal clearance? It took about three months of clean installs before I relaxed. To be fair, I still second-guess on high-value orders. But that's part of the process. The doubt makes you check the drawing one more time.
Your Mileage May Vary
One disclaimer: my experience comes from a mid-size plant with fairly clean air, moderate speeds, and a maintenance team that follows procedure most of the time. If you're in aggregate handling, paper mills, or any environment with heavy dust or moisture, your failure modes will be different. I can only speak to my context. If you're dealing with extreme contamination or unusual temperatures, get a tribologist involved. The checklist is a starting point, not a complete solution.

Elena Markovic
Elena Markovic is an independent industrial motor and drive systems analyst covering induction motors, servo motors, stepper motors, and variable-frequency drives. She examines IEC 60034-30-1 efficiency classes, IEC 61800-9-2 drive-system losses, speed-torque curves, duty cycles, thermal limits, and feedback compatibility across operating envelopes. Her evidence-led guides help OEM engineers and plant teams select efficient motion packages, plan integration, and reduce commissioning risk.